Add SSH keys to VPS on creation
Adding an SSH key
Section titled “Adding an SSH key”Login To The Panel
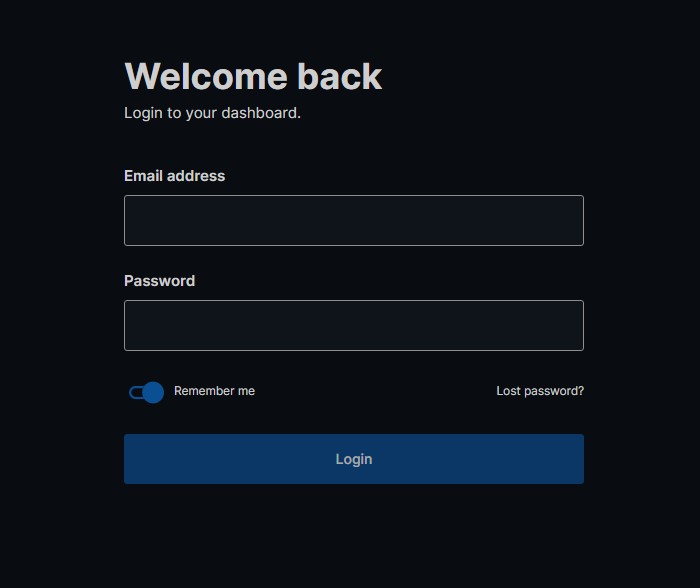
Section titled “Login To The Panel”Below is the client login for the VPS Panel https://vf.evlbox.com/login
You should probably login first.
Navigate to the SSH Key Tab and “Add Key”
Section titled “Navigate to the SSH Key Tab and “Add Key””After Logging in, you should be directed your Dashboard, at the top of the Dashboard is the navigation bar, Select the “SSH Keys” Tab and then press the “Add Key” button.
Name Your Key And Copy And Paste Your Key Information.
Section titled “Name Your Key And Copy And Paste Your Key Information.”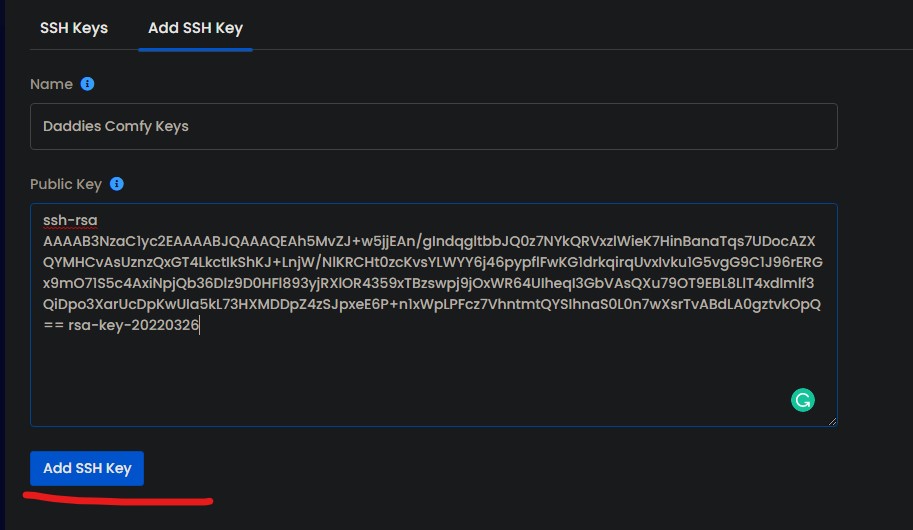
In this use case, the keys are named “Key1”. In the “Public Key” Field, an example of a Public Key is shown.
After you have you have done that press the save button at the bottom.
How to Use your new key.
Section titled “How to Use your new key.”If you are setting up your newly created VPS you can select your newly created SSH Key to automatically add it to your machine during provisioning.
Your ssh key is now uploaded and being used by the server.