Mods
Vintage Story mods are distributed through the Vintage Story Mod Database. You can install them via the file manager or directly from the server console using the /moddb command.
Installing Mods via Console
Section titled “Installing Mods via Console”Vintage Story has a built-in /moddb command that lets you search, install, and remove mods directly from the Console tab — no file manager needed.
Search for a mod compatible with your server version:
/moddb searchcompatible modnameInstall a mod:
/moddb install modidRemove a mod:
/moddb remove modidList all installed mods:
/moddb listInstalling Mods via File Manager
Section titled “Installing Mods via File Manager”- Find and download the mod
.zipfile from the VS Mod Database. - Log in to the EVLBOX panel and stop your server.
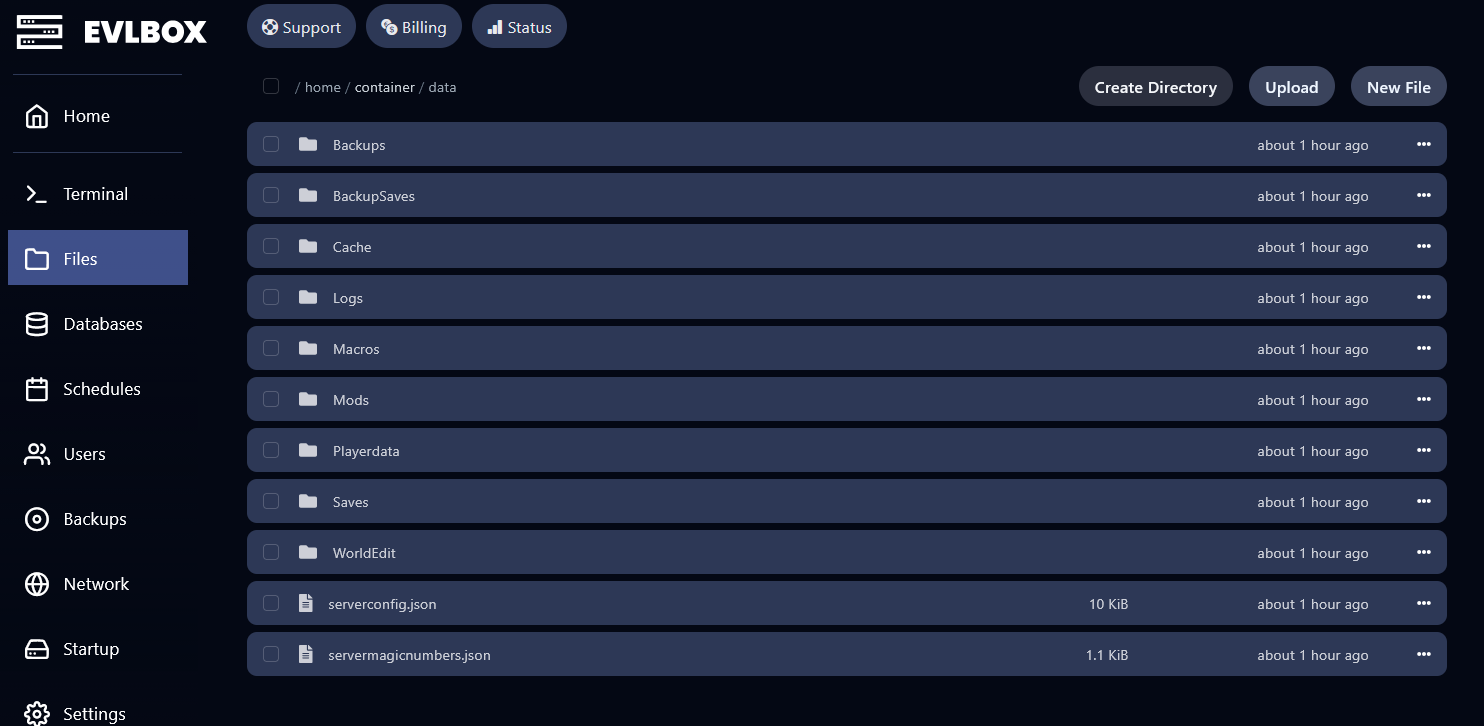
- Navigate to the Files tab.
- Open the
datafolder, then theModsfolder. IfModsdoesn’t exist, create it. - Click Upload and upload the mod
.zipfile — do not unzip it. - Start your server. The mod will load automatically.
How to Update a Mod
Section titled “How to Update a Mod”- Download the updated version from the VS Mod Database.
- Stop your server in the EVLBOX panel.
- In the Files tab, navigate to
data/Mods. - Delete the old mod
.zipfile. - Upload the new version.
- Start your server.
How to Remove a Mod
Section titled “How to Remove a Mod”Via console:
/moddb remove modidVia file manager:
- Stop your server in the EVLBOX panel.
- In the Files tab, navigate to
data/Mods. - Delete the mod
.zipfile you want to remove. - Start your server.