
How to Connect — Schedule I
How to Connect
Section titled “How to Connect”To join a Schedule I dedicated server, you need two things installed on your game client:
- MelonLoader — the mod loader that injects mods into Schedule I
- S1 DedicatedServerMod — the client mod that lets you join dedicated servers
Step 1: Install MelonLoader
Section titled “Step 1: Install MelonLoader”MelonLoader is a universal mod loader for Unity games. The installer handles everything automatically.
- Go to the MelonLoader Releases page
- Download MelonLoader.Installer.exe
- Run the installer and click SELECT — browse to your Schedule I installation folder
- Steam default:
C:\Program Files (x86)\Steam\steamapps\common\Schedule I
- Steam default:
- Make sure LATEST is selected and click INSTALL
- The installer downloads .NET 6 and sets up MelonLoader automatically
Step 2: Install S1 DedicatedServerMod
Section titled “Step 2: Install S1 DedicatedServerMod”The S1 DedicatedServerMod adds dedicated server support to your game client.
-
Go to the S1 DedicatedServers Releases page
-
Download the correct client zip for your game build:
Build Download Default (IL2CPP) Il2cpp_Client.zipAlternate (Mono) Mono-Client.zip -
Extract the zip into your Schedule I installation folder
-
The
Modsfolder from the zip merges with your existingModsfolder -
Verify that
Mods/DedicatedServerMod_Il2cpp_Client.dll(or Mono) is present
Step 3: Connect
Section titled “Step 3: Connect”- Launch Schedule I
- From the main menu, select Servers → Direct Connect
- Enter your server’s IP address and port
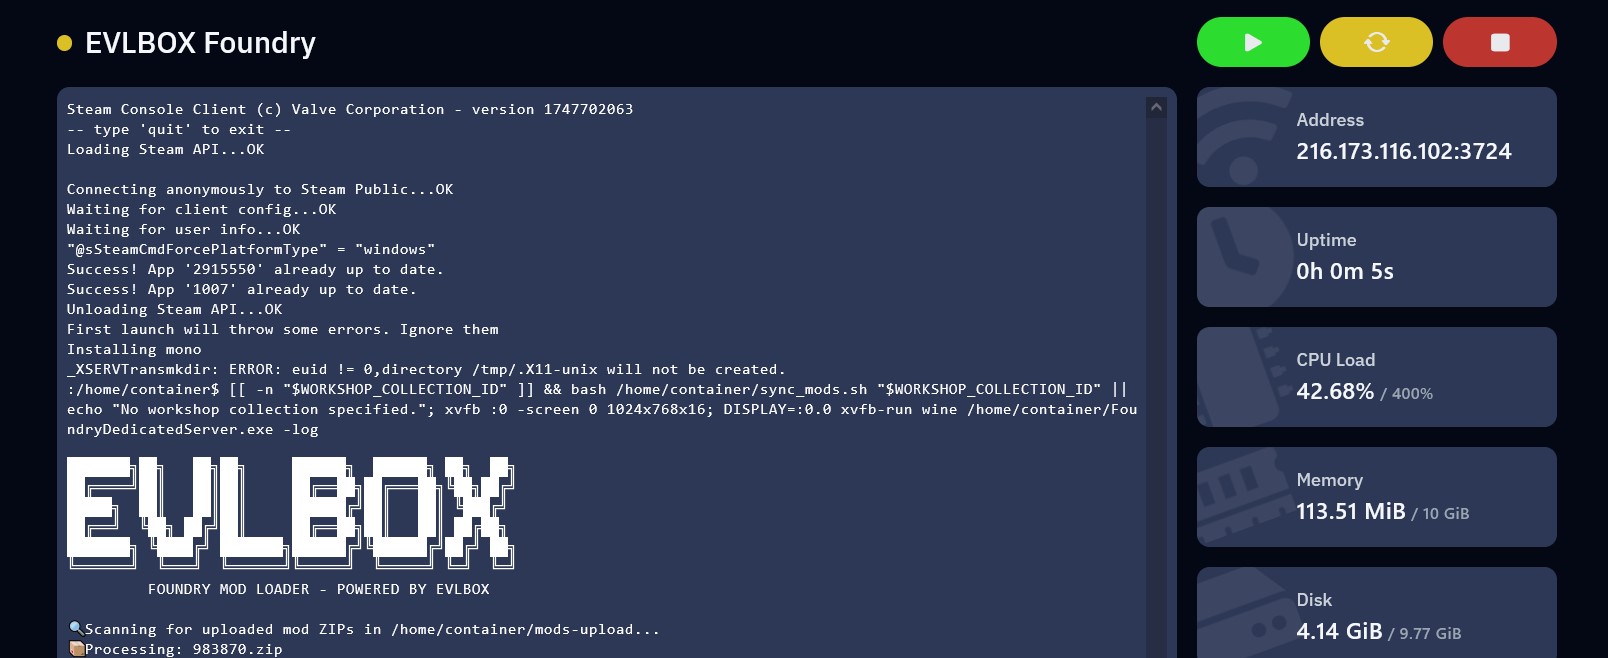
- From the Nitro Panel, your server’s IP and port are displayed on the main server page. Click the address to copy it.
- Click Connect